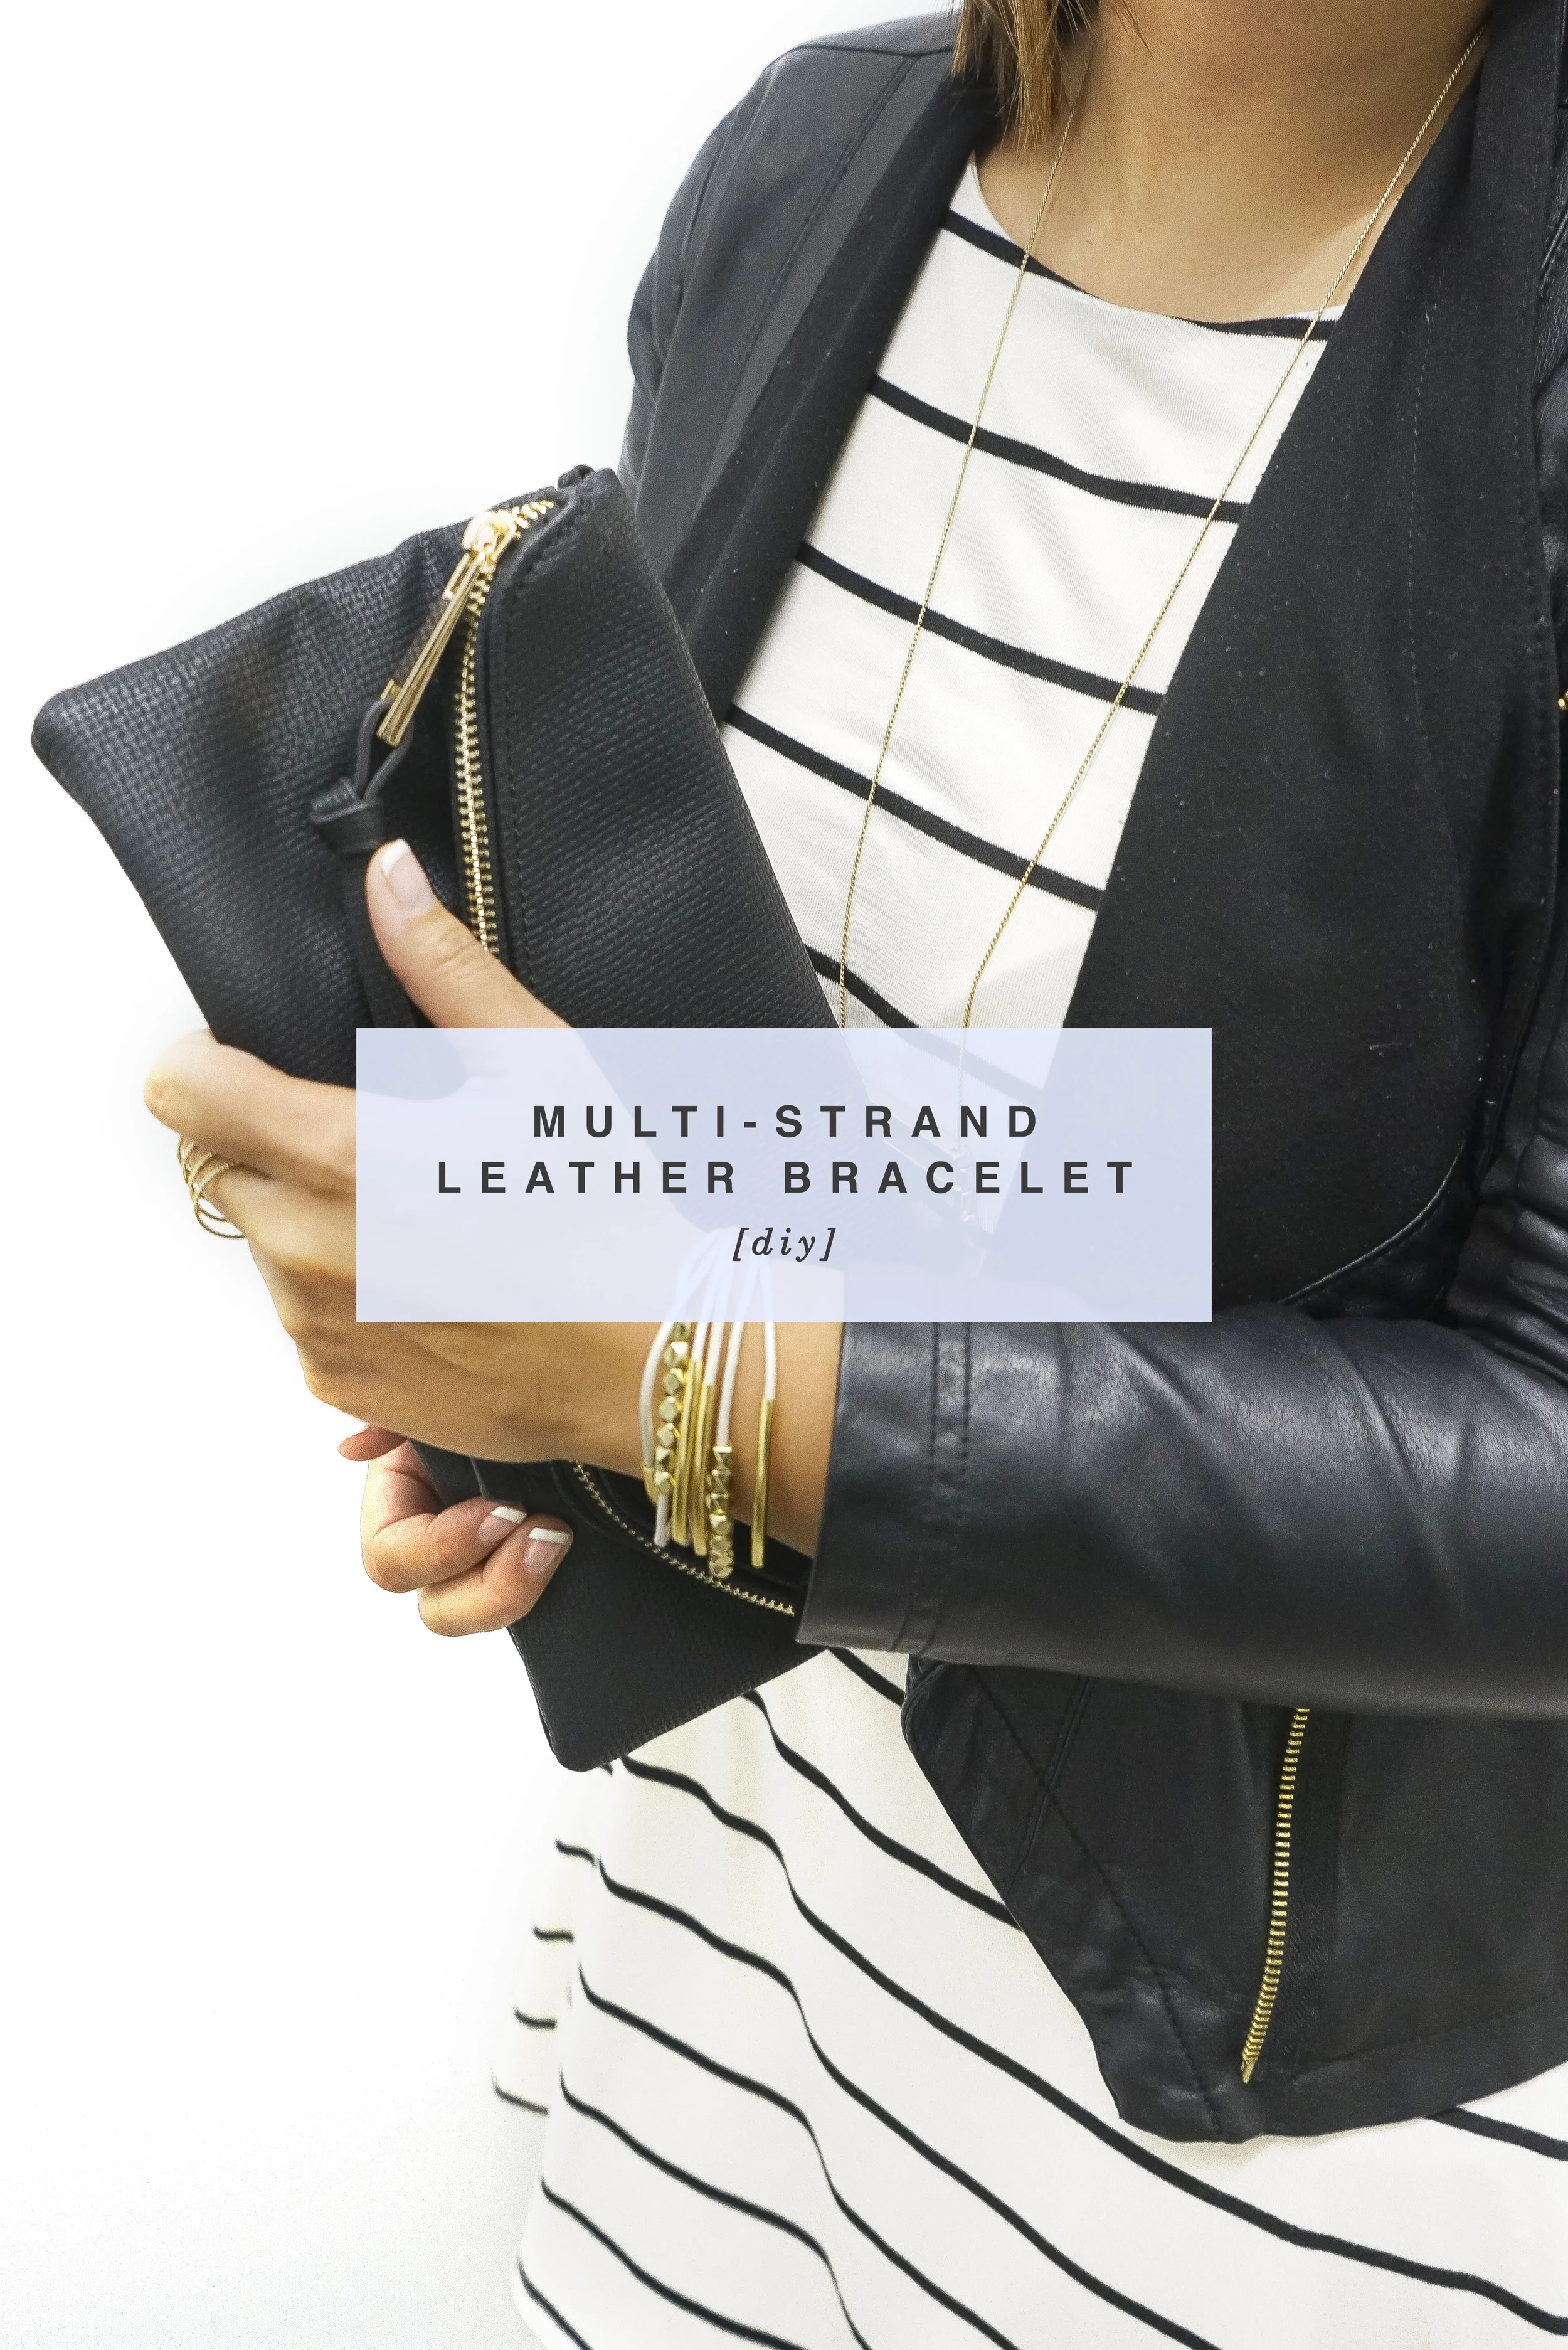
DIY: Multi-Strand Leather Bracelet
Supplies:
Round Leather Cording [2mm]
Crimp Closure/End Caps [make sure it is large enough to fit 3 strands]
Spacer Beads or Round Beads [to fit on 2mm cording]
Curved Tube Beads
Mod Podge
Lobster Clasps [12mm]
Small Jump Rings
Scissors
Needle Nose Pliers
Tape
Q-Tips
Ruler


Instructions [for one bracelet]:
Measure your wrist. Add an inch or two and cut your strands that length. My wrist is about 6" around so I cut THREE 8" strands of leather. [TIP] The leather cording is pretty twisted from the way it is packaged, so I laid my strands out and taped them down over night to try to straighten them out. They were much easier to work with afterward.
Bunch the strands together on one end and put the end cap around them. Using a needle-nose plier, crimp and squeeze the end until it lays flat on top of the strands. [TIP] Instead of cutting of any excess, aligned the edges to the top of the end cap. It was extremely difficult to try to trim the excess once it was in the end cap.
At this point, I remeasured my wrist and trimmed to the final size I wanted. Since I aligned the edges to the top of the end cap, this was the only opportunity fit it to the size you'd like. This is also so that when you put the beads on you can find the middle. The ruler comes in handy here.
Find the middle strand, apply a little bit of mod podge to the center with a q-tip.
Slide the beads on, applying small amounts of mod podge as needed and wiping off any excess. This process was probably the most tricky, which is why it is pictured above. [TIP] Let the mod podge dry for at least 15 min. Otherwise, the beads will keep moving around and never set.
Slide curved tube beads onto the outside strands.
Carefully gather the ends (try to keep the beaded strand in the center) and repeat step 3.
Open the the jump ring for your lobster clasp. It may be helpful to use 2 pliers for this and to use a twisting motion instead of pulling apart. [TIP] Make sure you buy small extra jump rings. The lobster clasps I bought didn't have jump rings and you will also need another jump ring on the opposite end of the bracelet to connect the lobster clasp to.
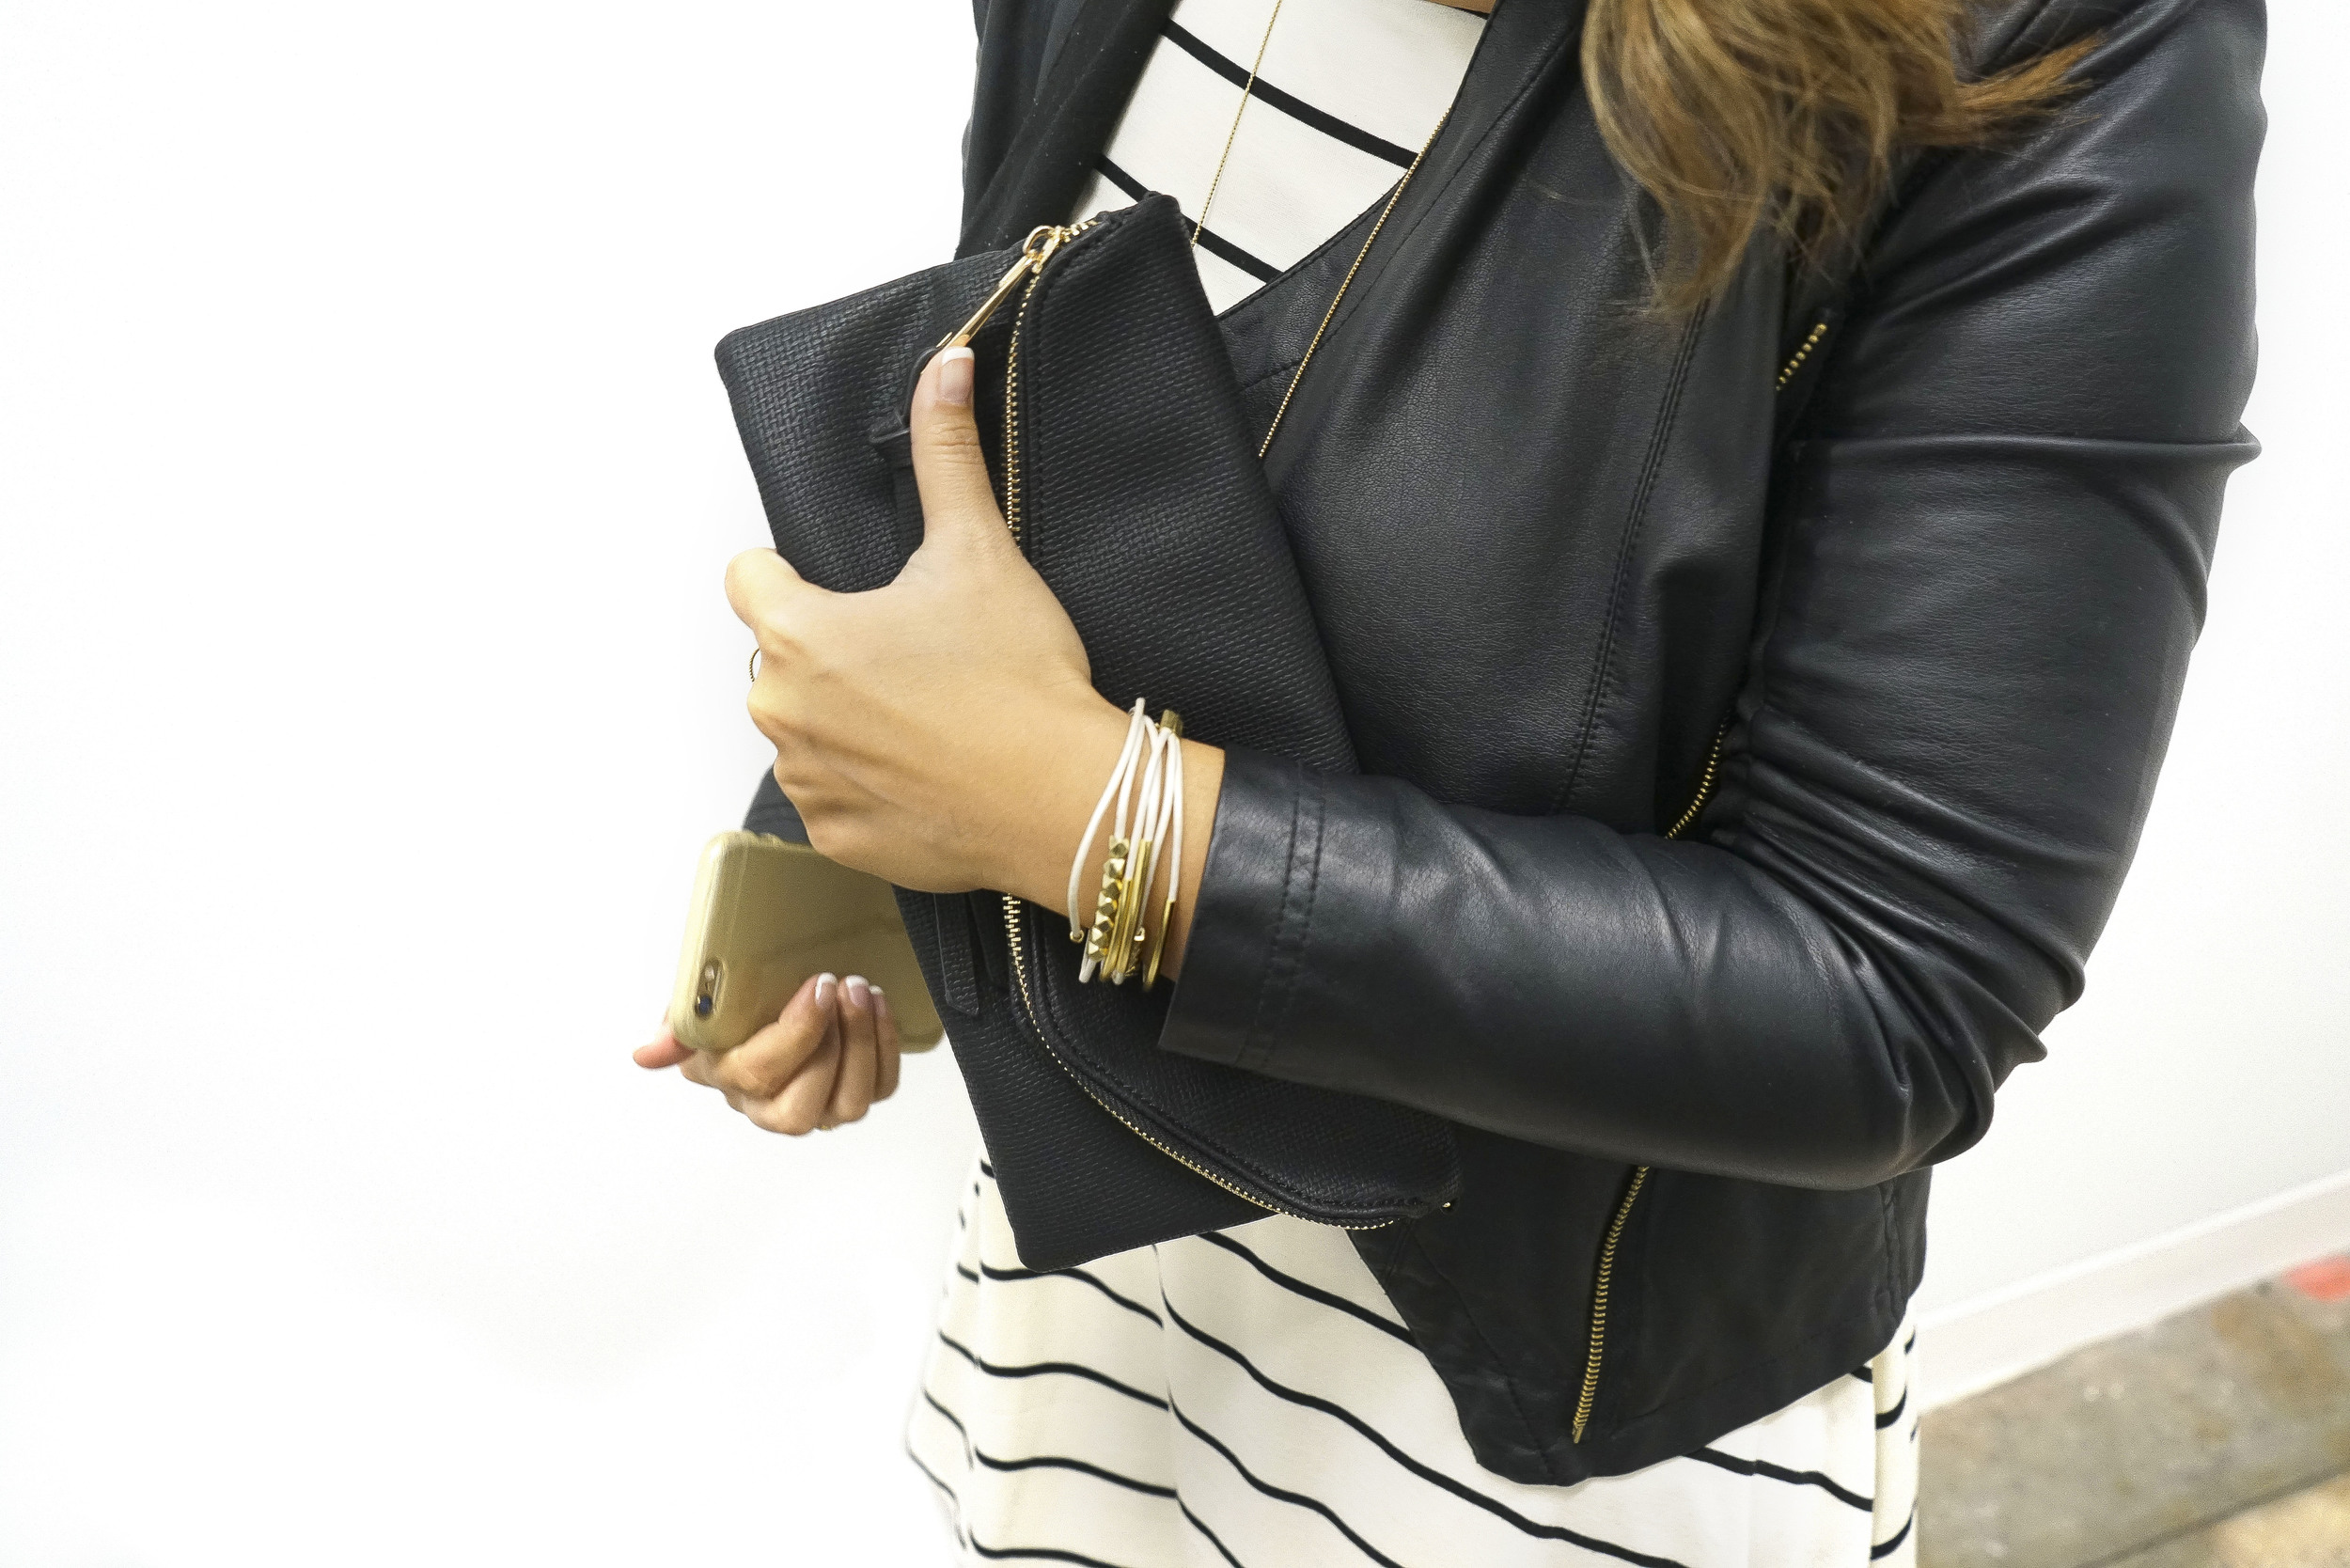
How easy was that? No really it was! I literally put one together in less than 30 minutes, factoring in material prep and dry time. And its a work night for me. So I'd say this is a pretty simple DIY to do that doesn't require much time. And it was my first attempt at a DIY for you all. I'm going to mark this as a win!

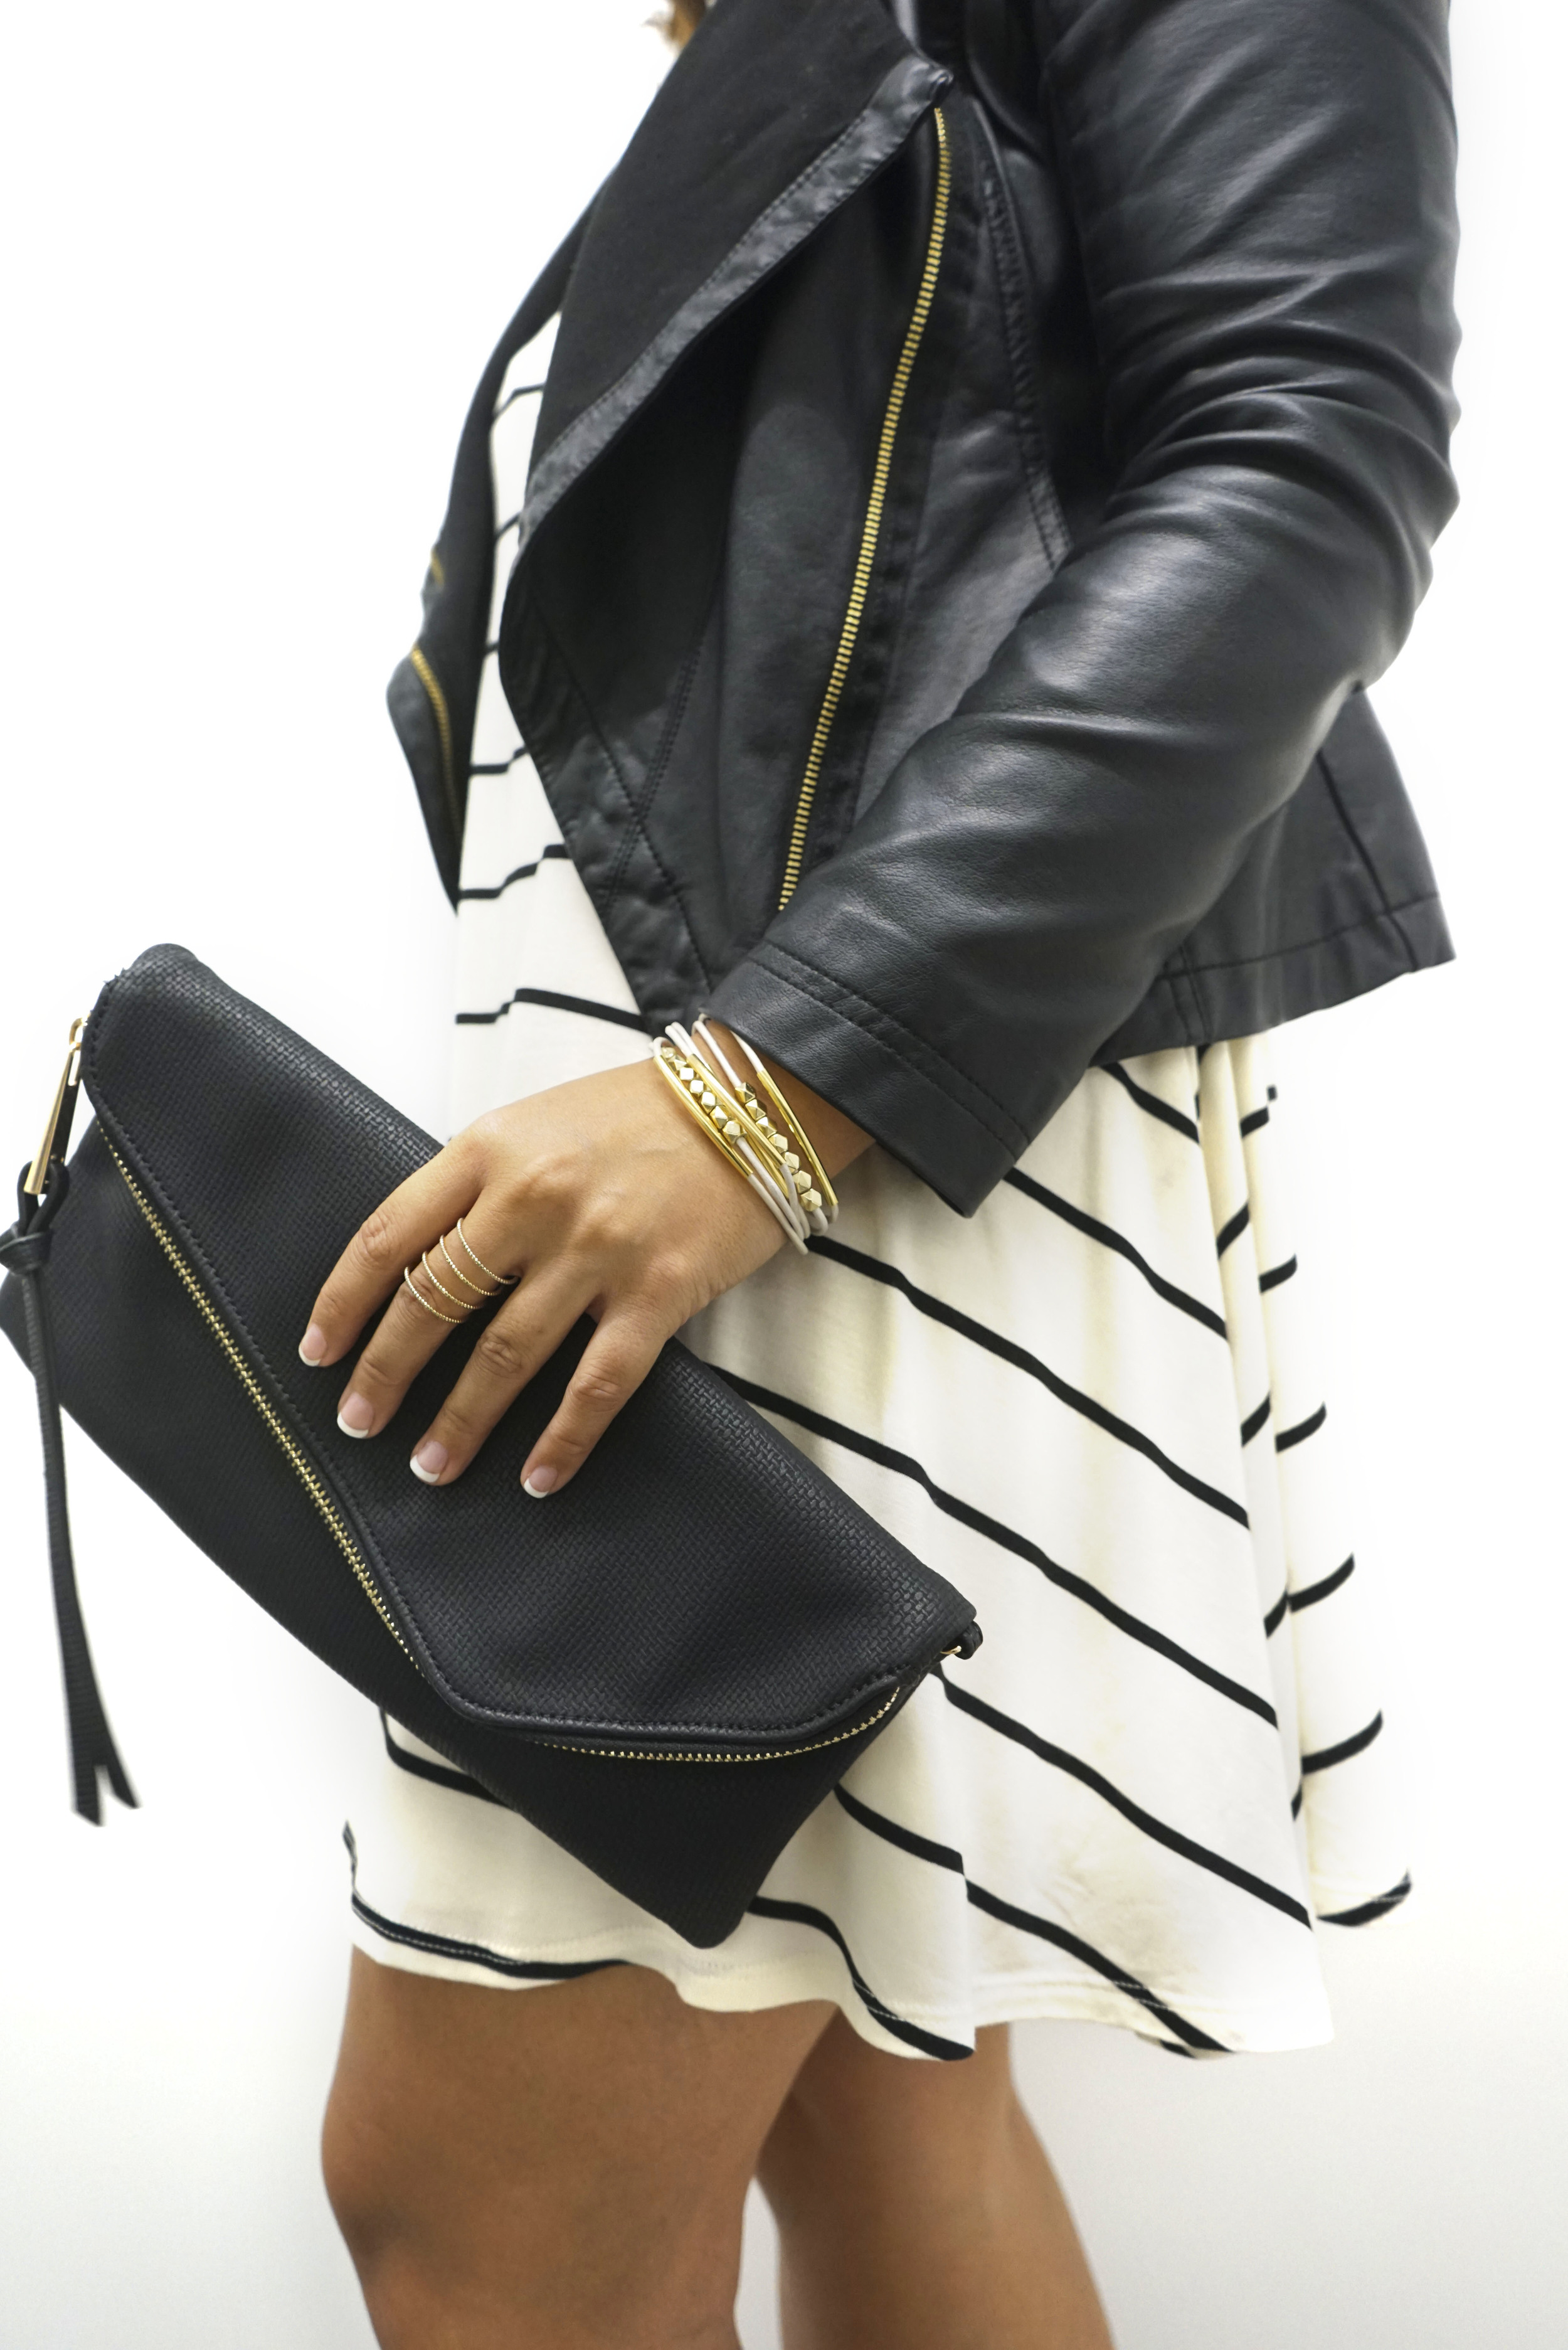
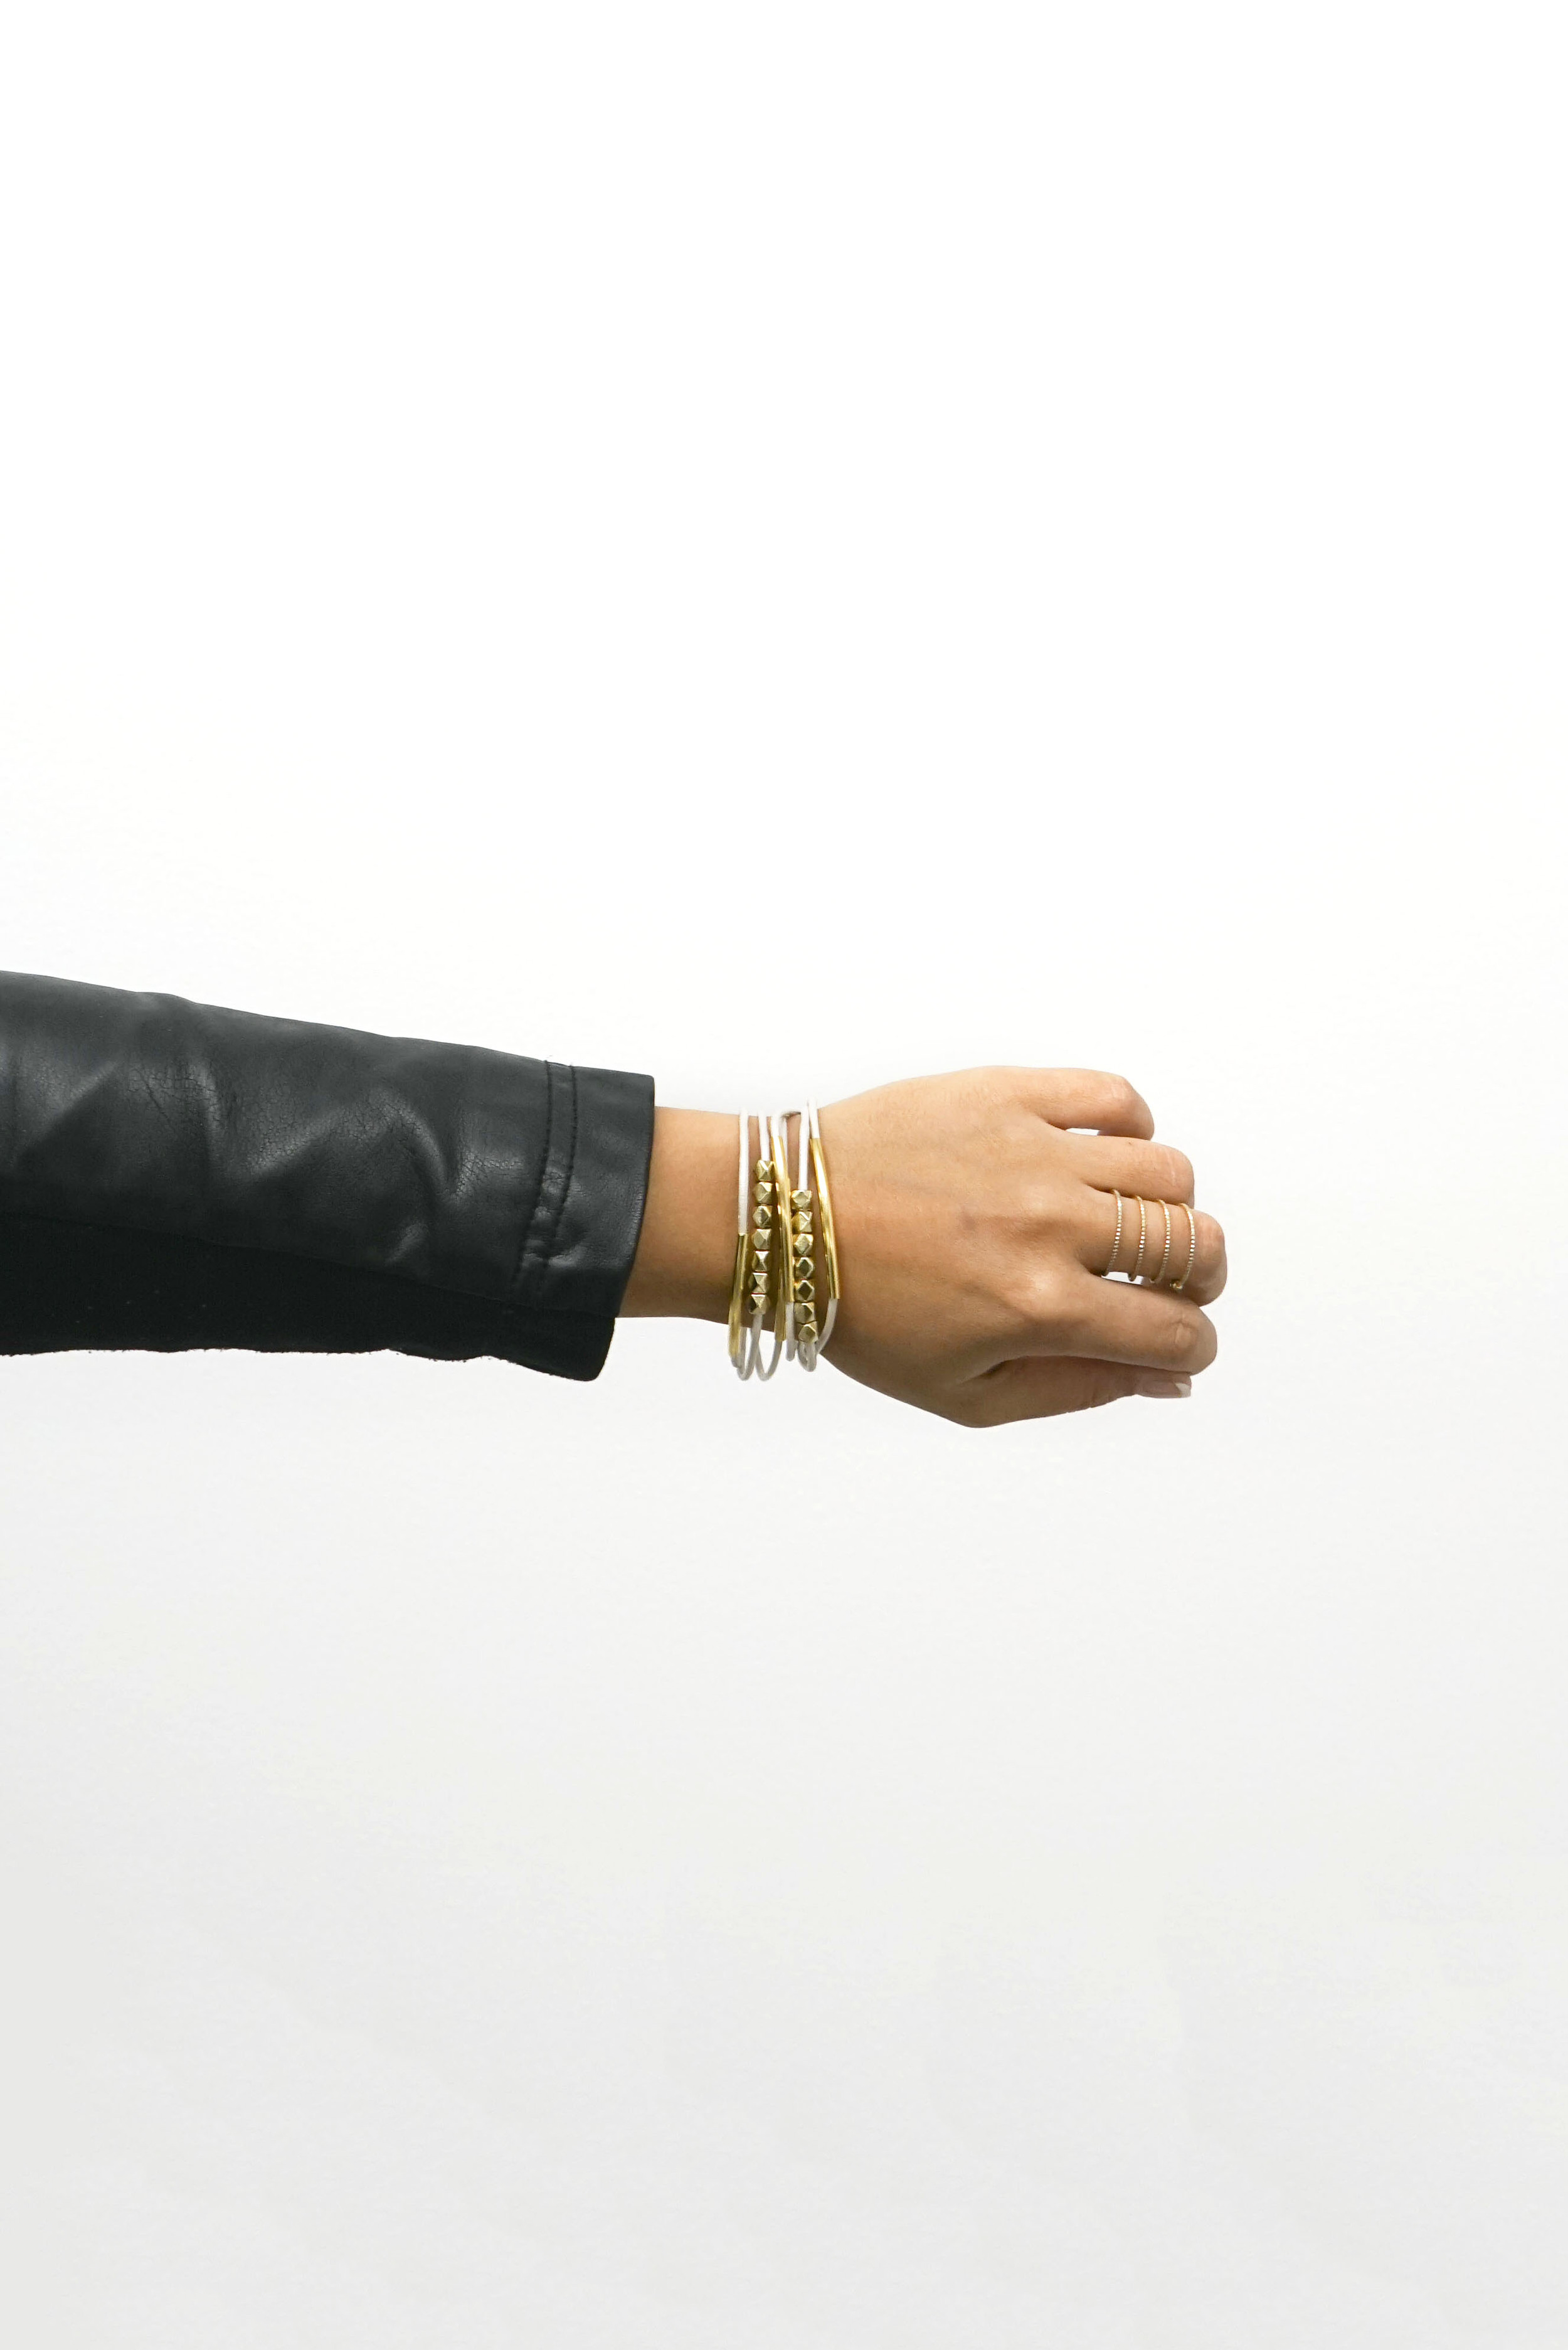
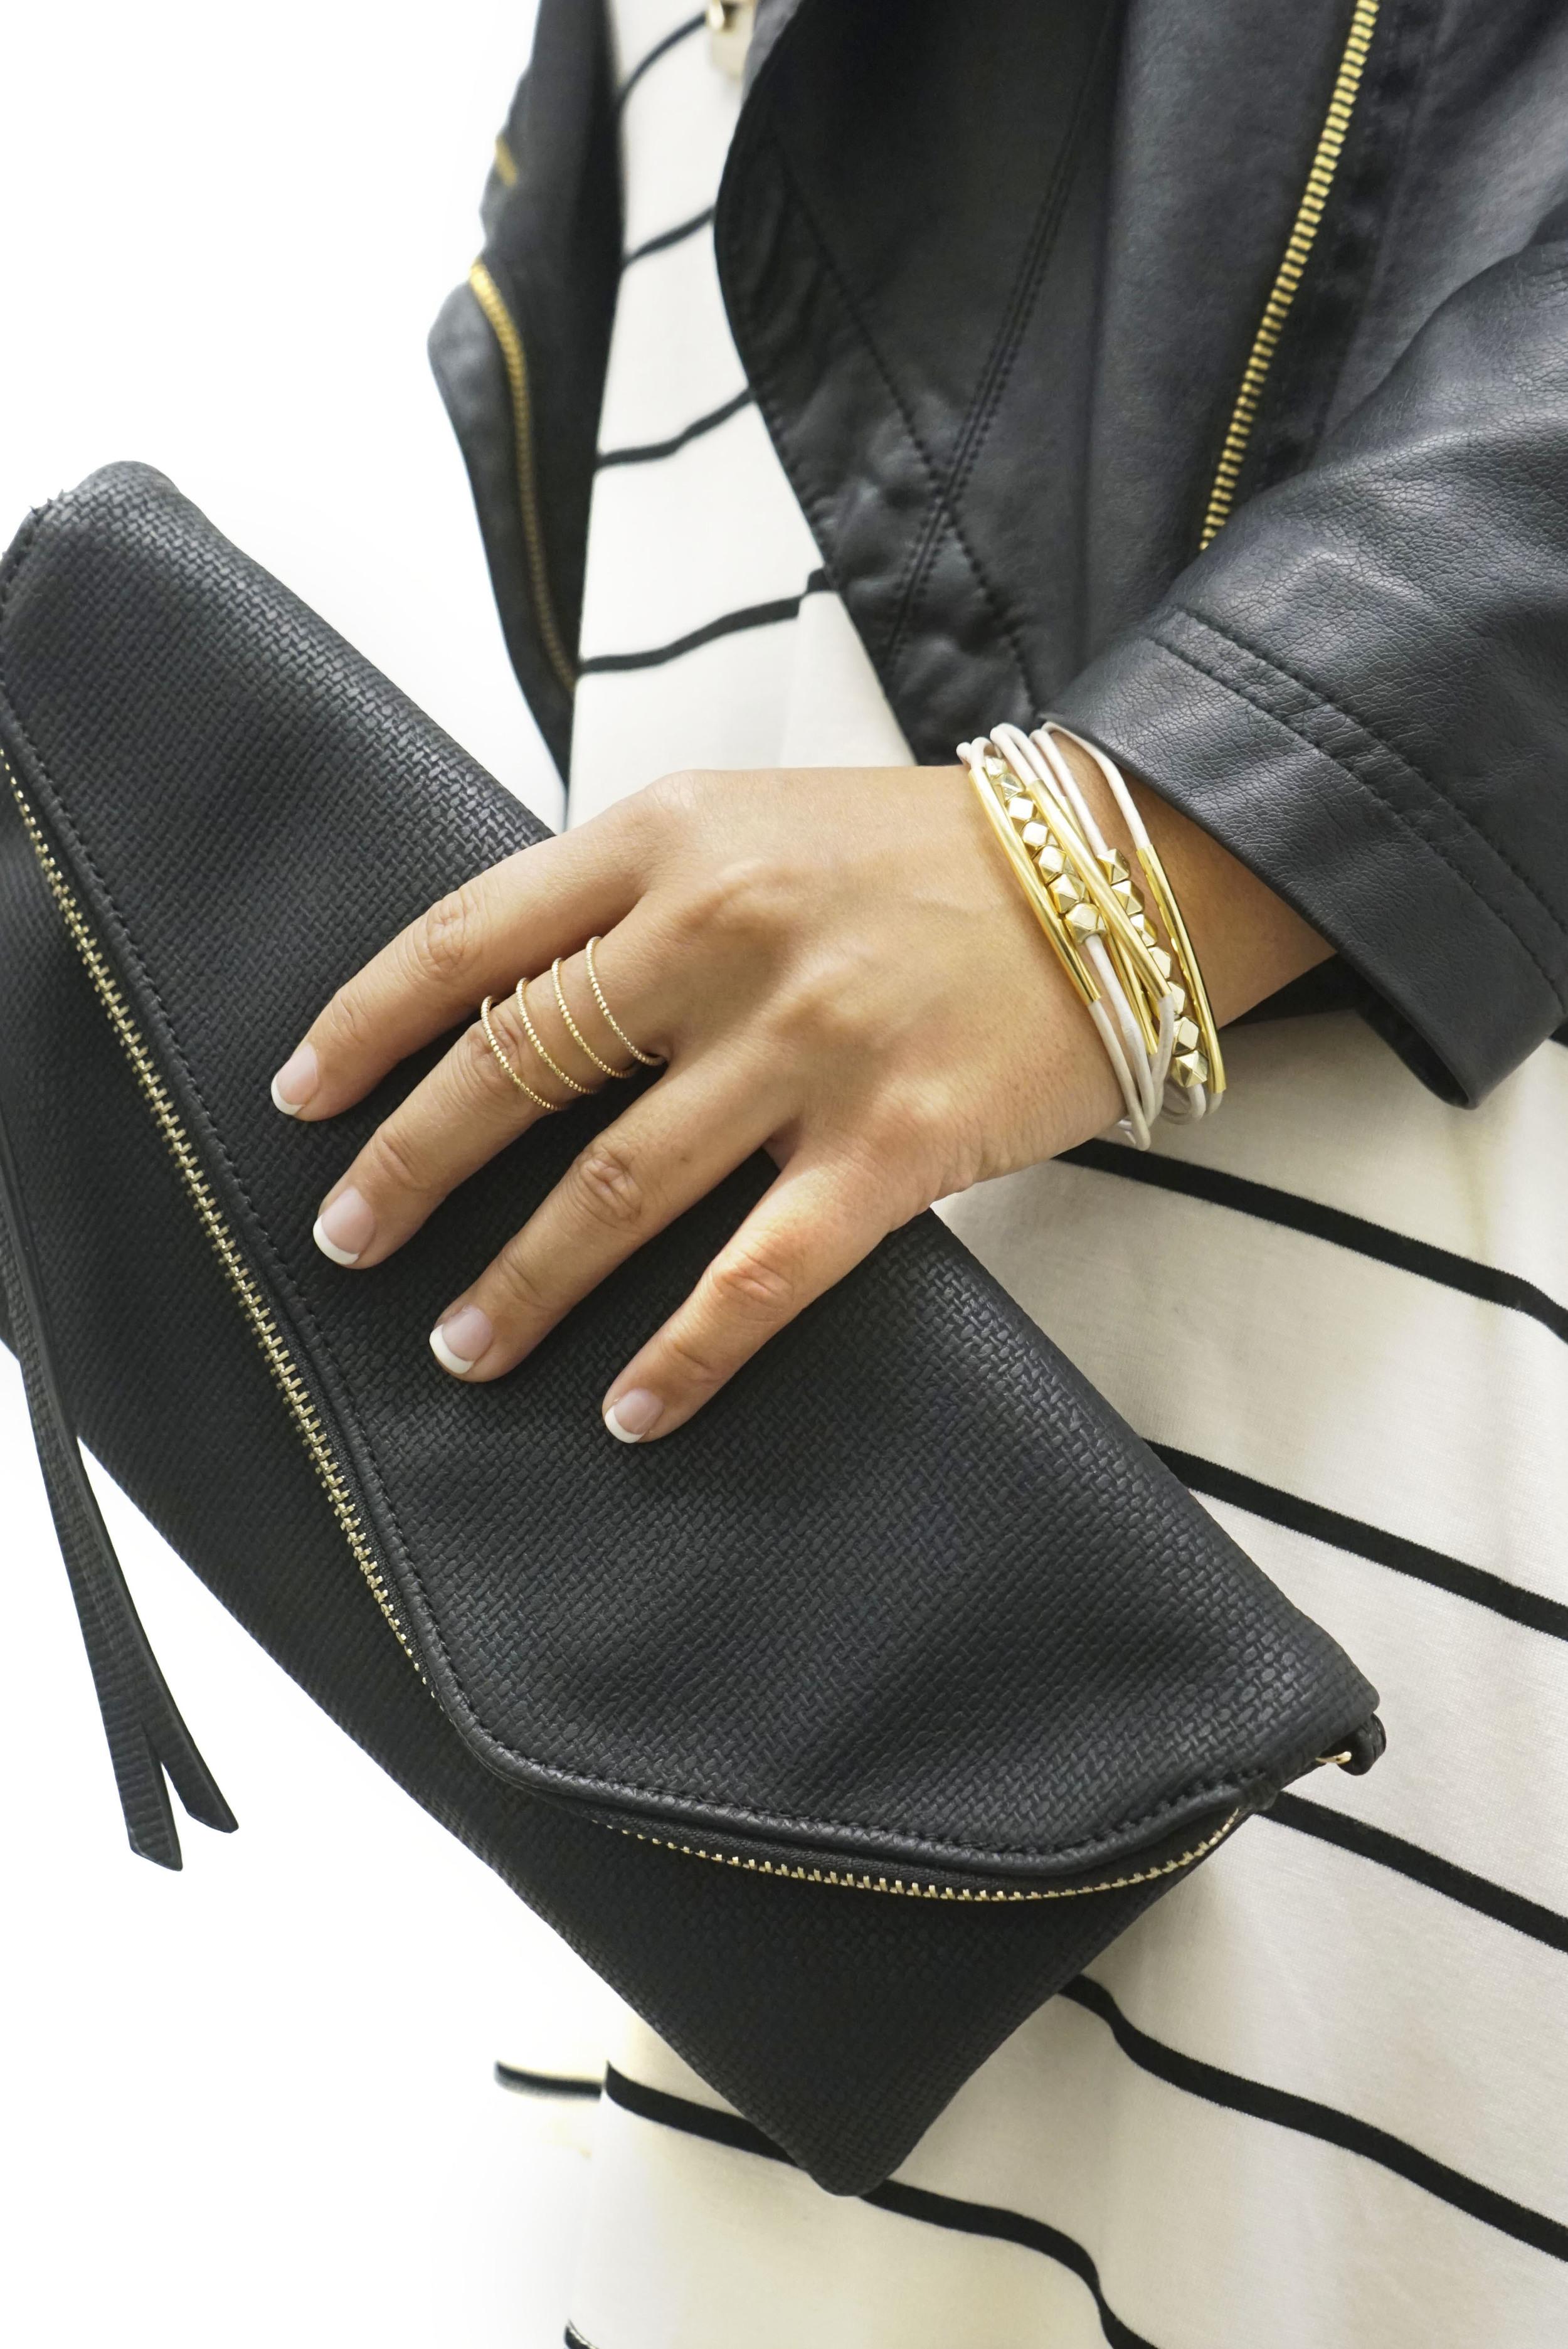
I adapted this DIY from one of my growingly favorite DIY Bloggers Homey Oh My! I made a few tweaks and added in some helpful tips, but check out her tutorial for more insight!
Doing this DIY definitely made me miss arts and crafts. I'm a crafty person by nature. After all, I figured out I wanted to go into the design field at a young age from being an avid scrapbooker. Funny story, my boss even mentioned that we should start doing more arts and crafty things now that we've moved into a new creative workspace. So hopefully I can start working on more DIYs to share with you, especially if I'll have time at work to do so!
Yours Truly // Shannon

